

Many props were needed for the Pirate Tavern project, and a focal point in the bar is the 42 inch 5 pound cannon on its wooden support. Here is a step by step on how I made it.
Step One: Design

SketchUp Model
I first created a SketchUp model to determine the size and materials I would need. The model helped me calculate the taper needed in the next step.
Step Two: Materials and Construction
Material: 3/4 inch clear pine
I chose clear pine because of its easy to cut and work with. It also provides a nice clean surface that can be textured and painted to look like any other material.

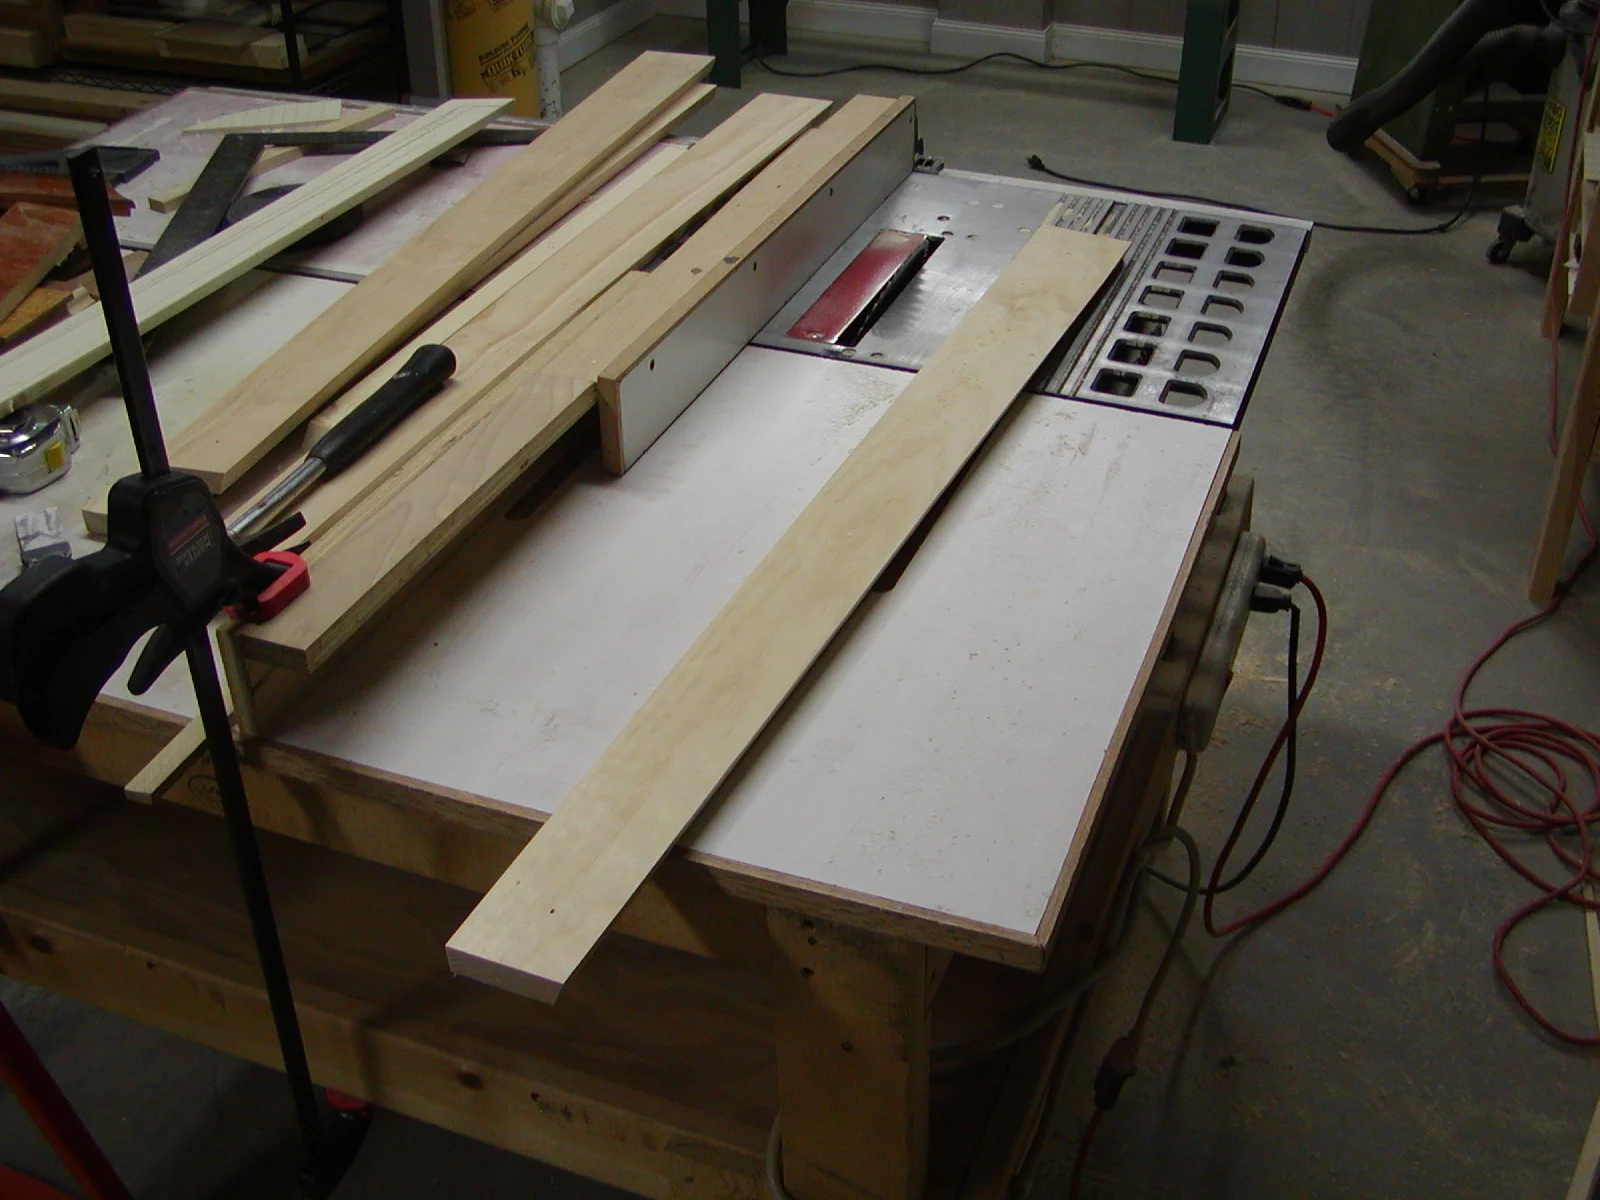
Tapering
The barrel of the cannon would be made up of a tapered octagon. Each slat had to be cut with a homemade tapering jig with the blade angle set to 22 1/2 degrees.
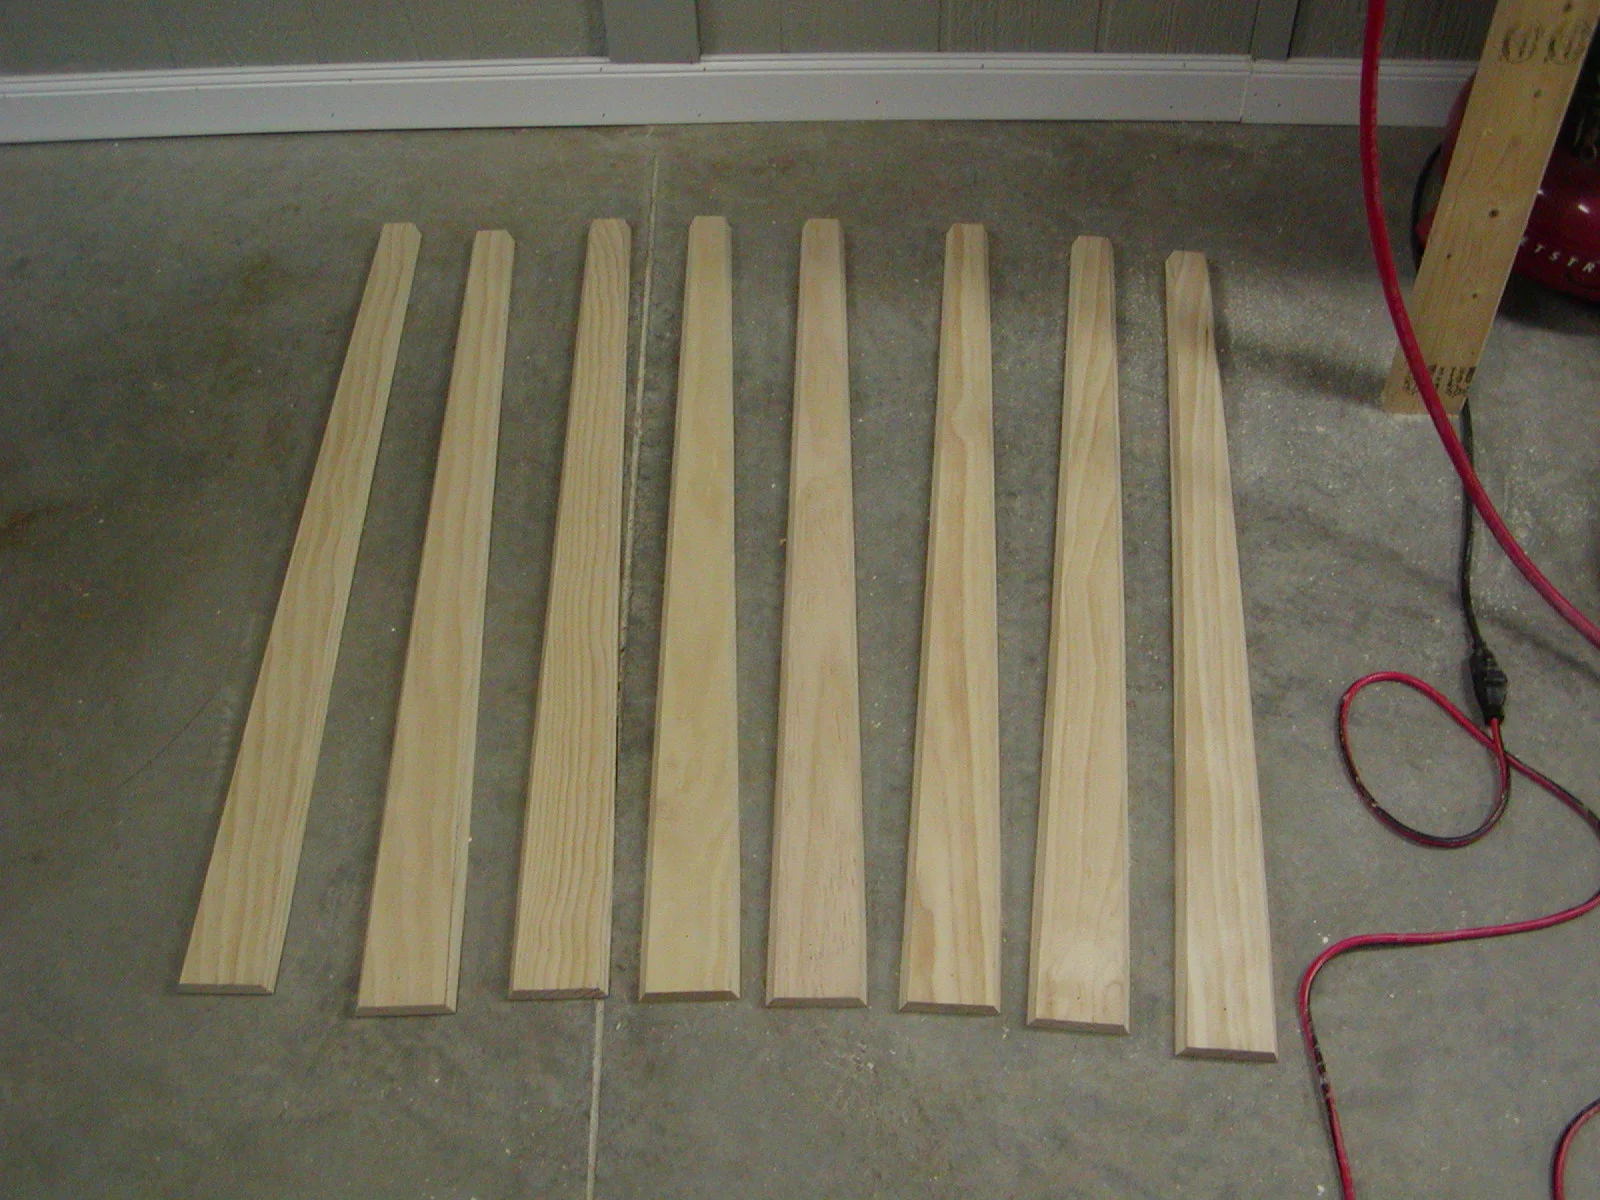
Eight tapered slats
Next step was to glue them up and add the material for the rings that wrap around the gun. Note: I found later that it is much easier to glue the ring material on the slat before cutting the taper, that way all the compound angles line up.

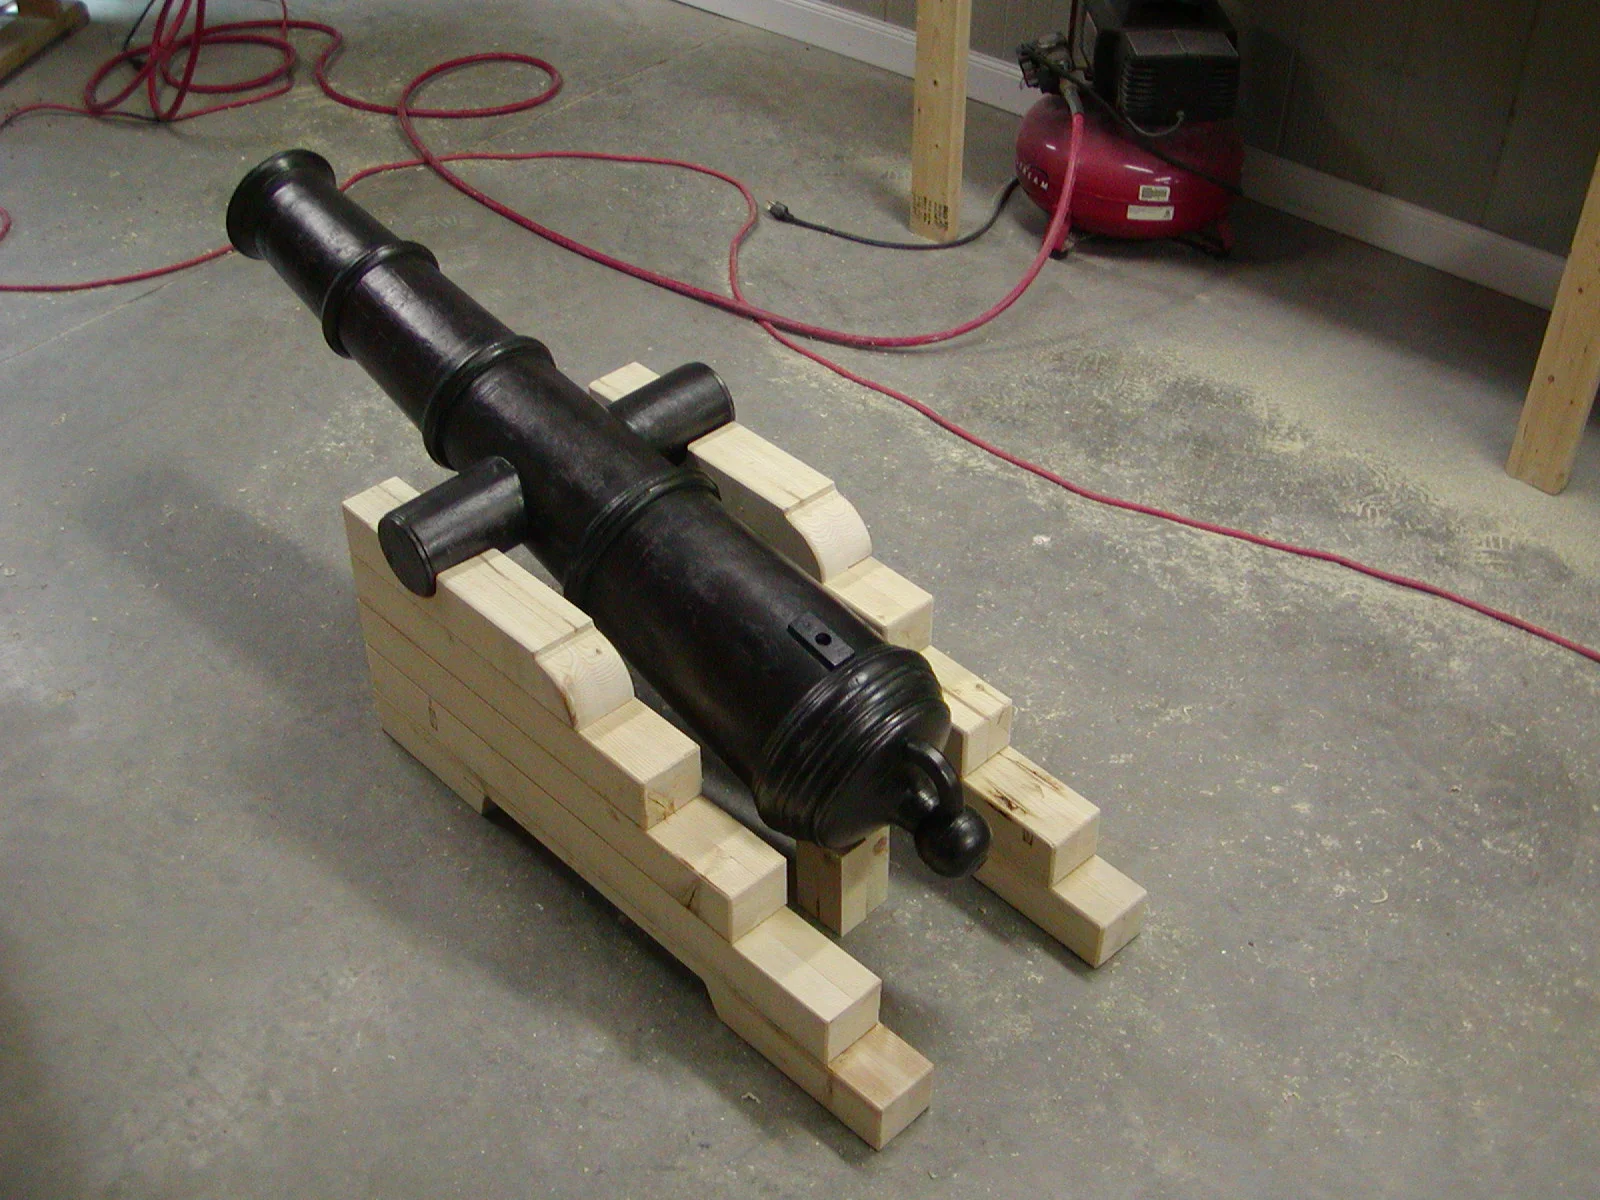
Guns buck during glue up
I added caps on both ends of the finished glue up so I could securely mount it in my lathe. The lathe has a 45 inch capacity, so that helped determine the size cannon I could make.

Buck mounted in the lathe
I made sure the glue up was well balanced on the lathe and I started the tuning on a slow speed. Using a large gauge to rough out the form and remove the corners. This is a dangerous process, so make sure you understand how to use your tools and wear the appropriate safety gear.

Finished Turning
The spur drive blew out a few times and I had to add a block on the drive end to support it. But once the basic rounding had be achieve, I could increase the lathes speed and begin cutting in finer detail.
Step Three: Texture & Finish
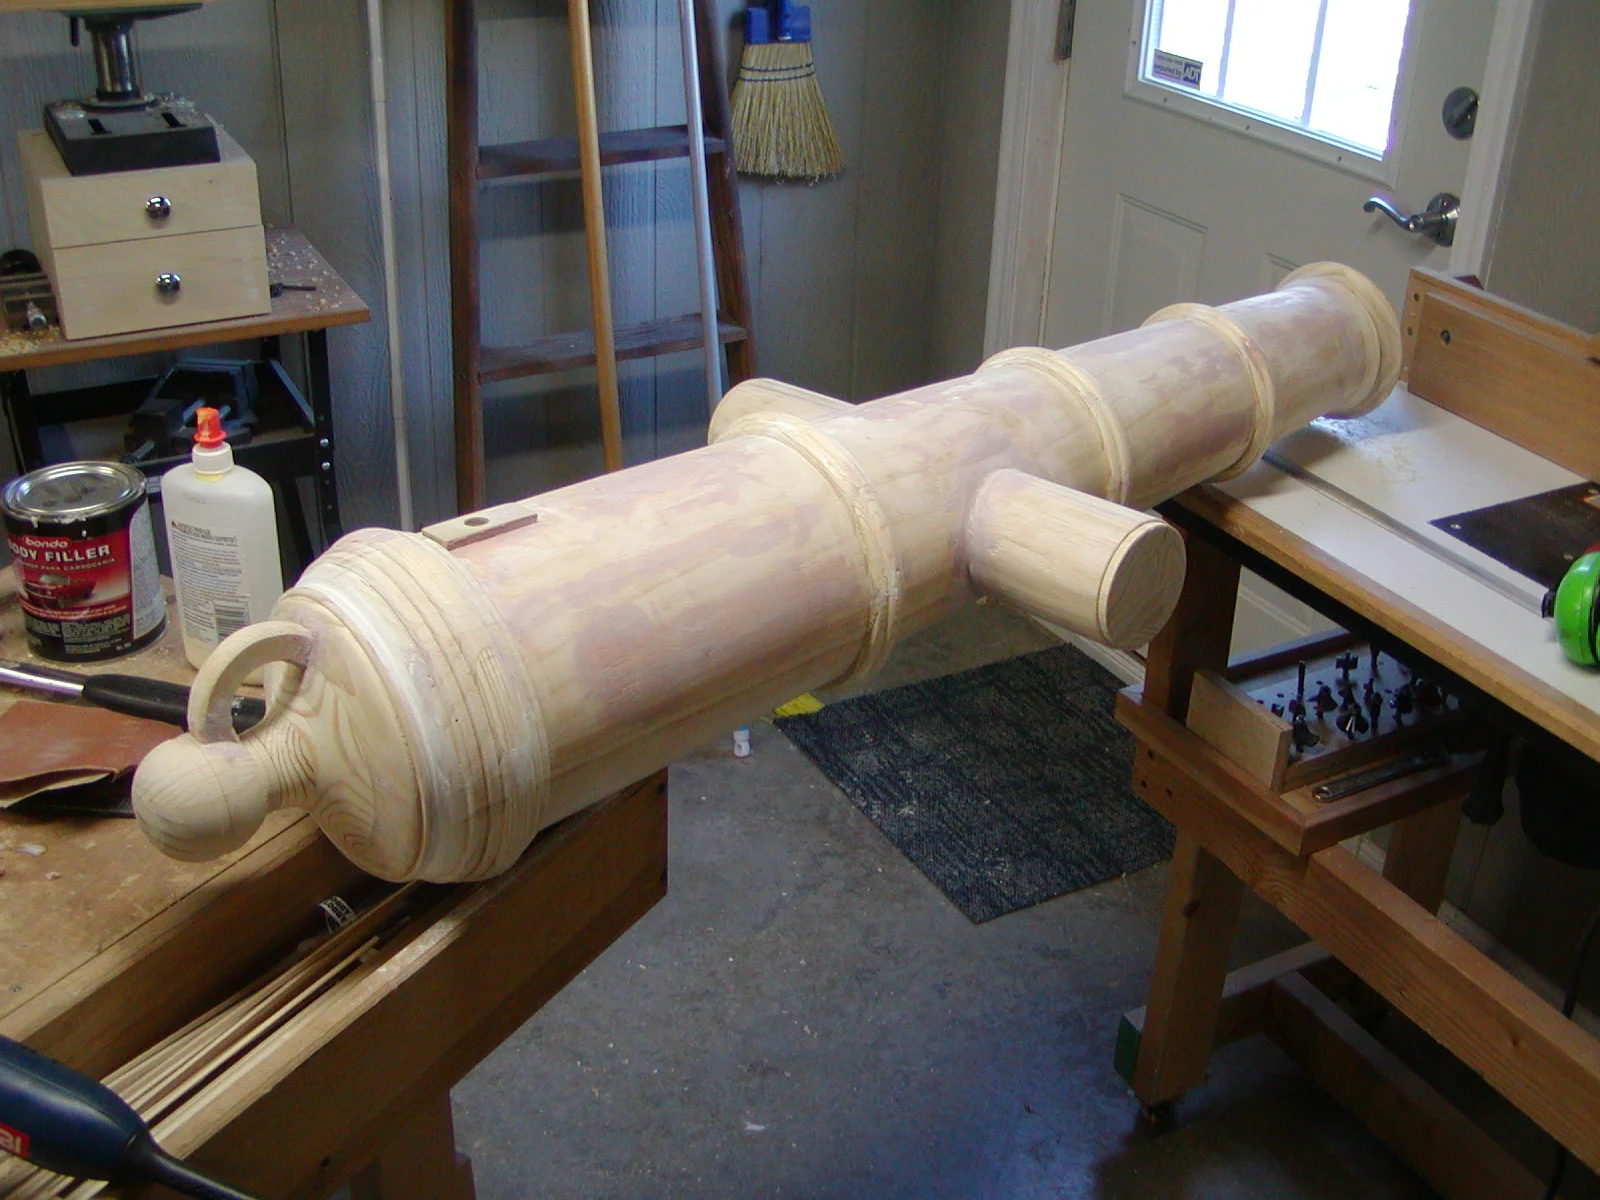
Assembled Gun
I turned a mid support out of a solid glue up of pine and made turnings for the two ends of the cannon. Once glued together, I added Bondo filler to hide the seams, but also give me a metal texture that I could add patina to later. This would give the gun a cast and aged appearance.

Automotive primer and sanding
I used a sandable automotive primer sanding between coats to get to the texture and finish I was looking for.

Finish coat
The finish coat was a combination of a black and bronze metallic spray paints dusted together to give a shimmer effect.
Step Four: The Base
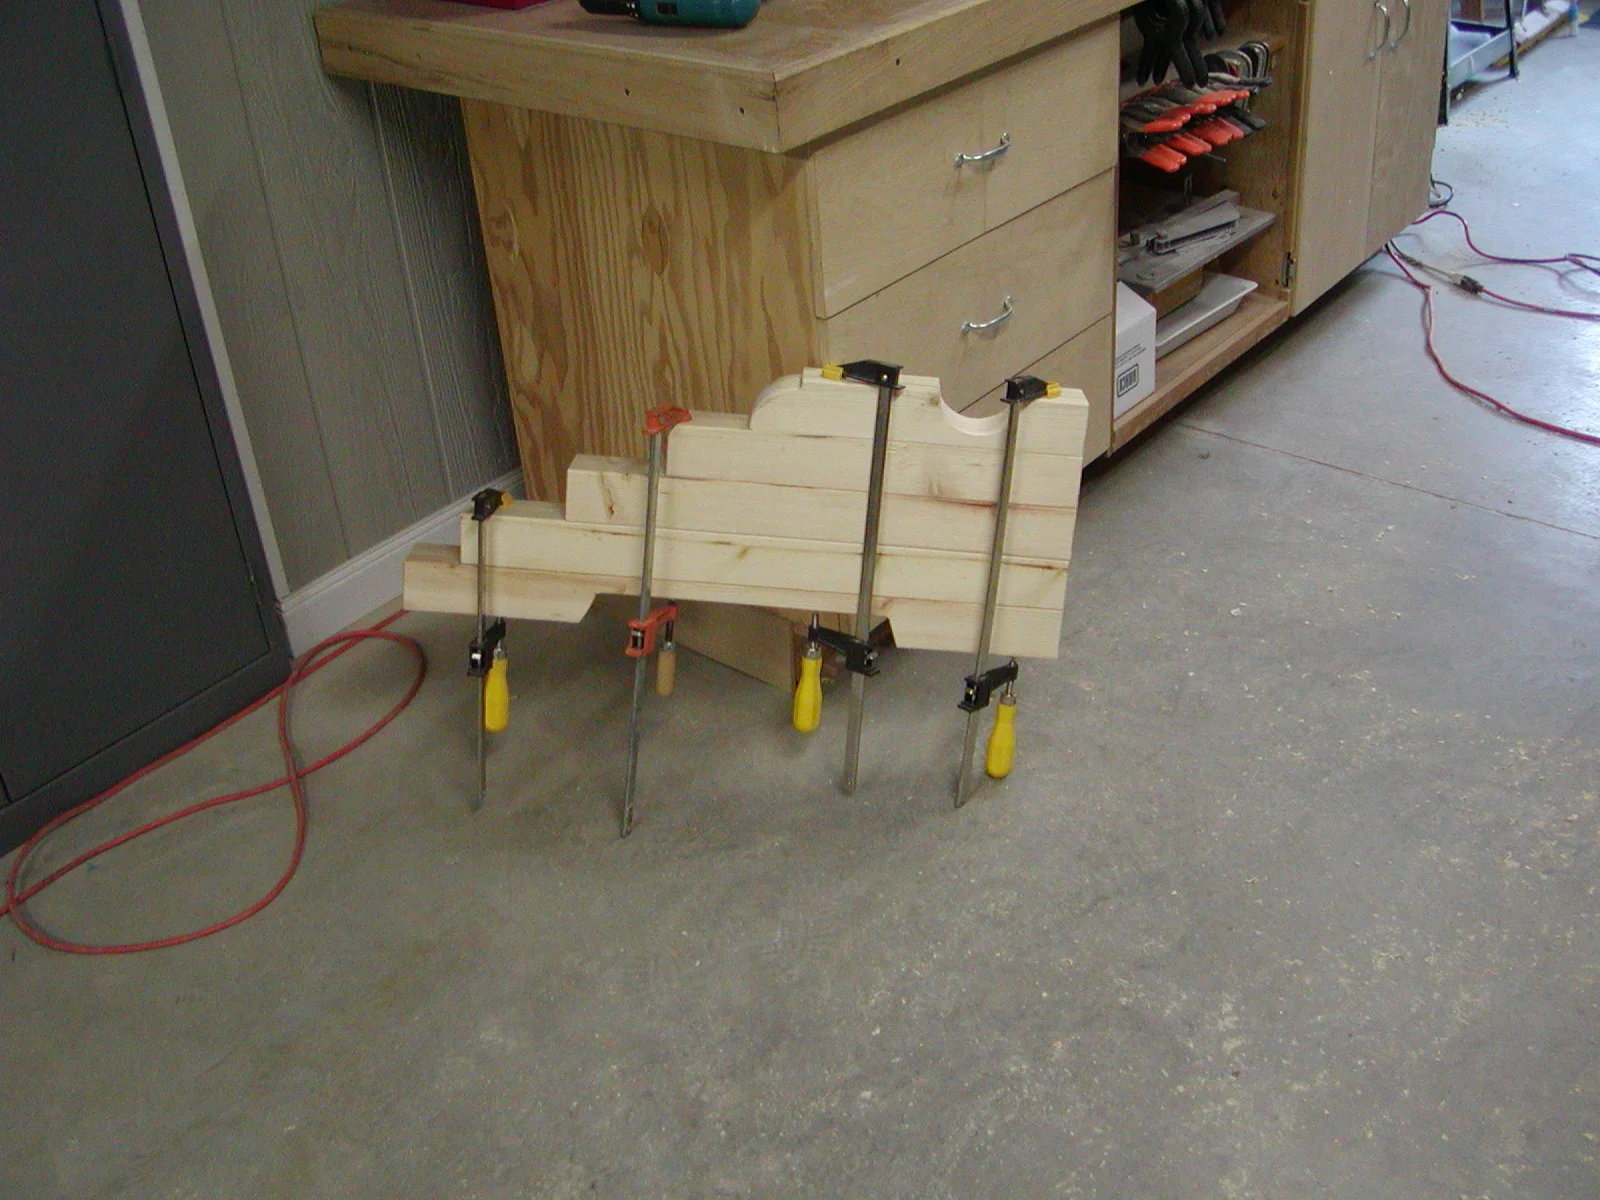
One side of the base
I ripped down 4x4’s to just under 3 inches square for the sides of the base. Using my 3D model, I determined the shape and size of each.
Fitting the base
Each side of the base tappers in toward the front of the gun. I cut a bottom platform to match this angle and secured the two sides together.

Finishing the cannon
The wheels were cut from 2x8 dimensional lumber and were stained alone with the base. I added faux metal plates on the side of the wheels and a wooden wedge in the back for the cannon adjustment. Using acrylic paints, I added dirt and grime, gunpowder burns and a slight greenish patina to the gun.

Sculptural detail
I added other hardware and details to complete the look. I sculpted an emblem for the cannon using Sculpey, made a silicone mold and cast it in resin, the faux painted it to match the gun.

The finished cannon
The finished cannon has hardware made from pvc and mdf to secure the gun to the base. And there it is, ready for display in the Plundering Pirate Tavern.

Master Gunner